Is your air compressor unable to build enough pressure? Does the unit take longer to hit the required PSI? If your compressor pressure is fluctuating or too much excessive oil carryover, it could be faulty.
The most common reason why small compressors do not build up pressure is a faulty check valve. Your compressor is not building pressure because the valve is defective.
However, when your compressor runs but doesn’t compress air, there can be hidden problems that are harder to diagnose. This article will help you troubleshoot the most common air leaks.
Disclaimer: This article is for information purposes. Compressors can be deadly to work with. This article does not provide enough training to qualify someone to work on a compressor safely.
See Related: Air Compressor Won’t Start
Diagnosing An Air Compressor That Doesn’t Build Pressure
1. Drain Valve
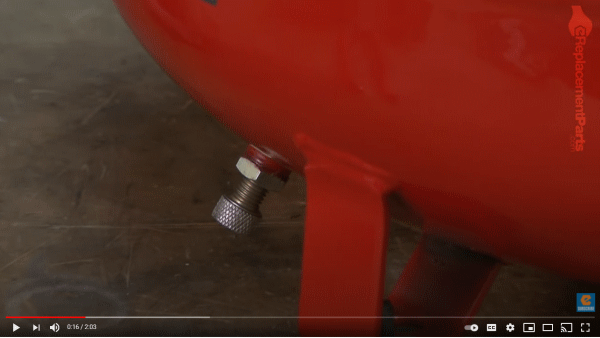
Check your drain valve for any leakages that can result in loss of pressure. A drain valve allows you to get to the inner parts of the compressor tank without having to tear down the entire unit.
In most cases, the drain valve helps you depressurize the air tank, especially before performing any service. Take caution and open to reduce pressure in the air compressor.
Although just a tiny part, the drain valve can leak and cause much of the pressure to reduce. So, be sure to check whether there’s any loss of pressure or bubbling at the valve.
You can replace the drain valve by following the instructions in the video below:
2. Leaking Air Tool
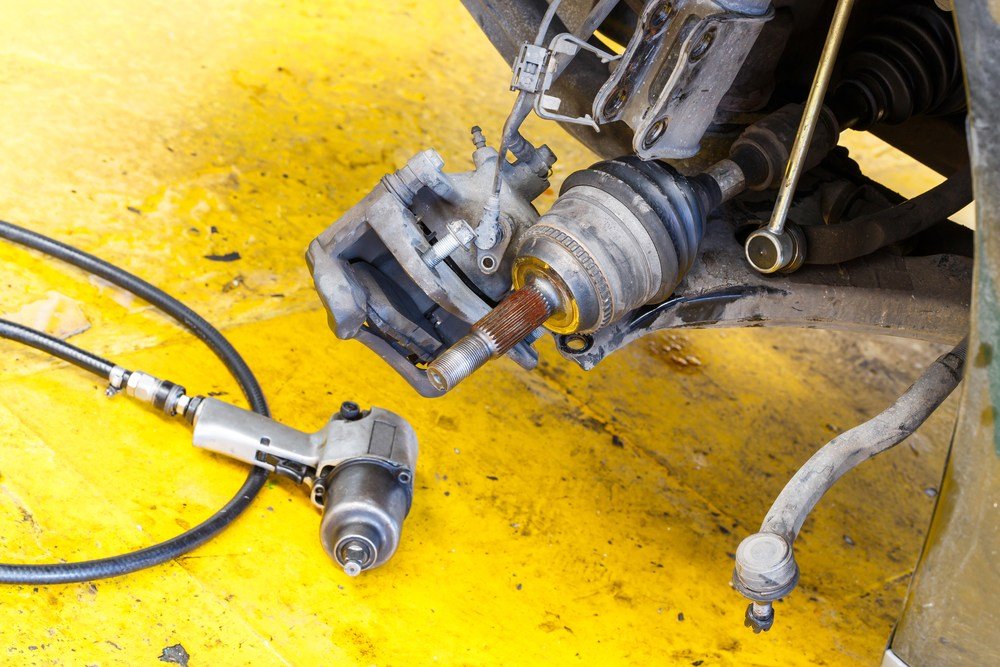
Air leaks happen when pressurized fluids move from a chamber to another. The hoses or piping system connecting the chambers may have a few pneumatic tools.
When a leak occurs in any of these pipes, the air volume will fall together with the pressure. So, the compressor becomes less efficient and loses its power.
If the air hoses cause bubbles in water, there’s an air leak. You can also take a soap and water solution and a small brush to apply it to the air host to find tiny links.
That said, for it to be a large enough leak to bleed the tank dry, you will hear the air escaping.
In large factories, however, there can be hundreds of feet of air line, and the tiny leaks can add up.
Check if the hoses have any loose connectors
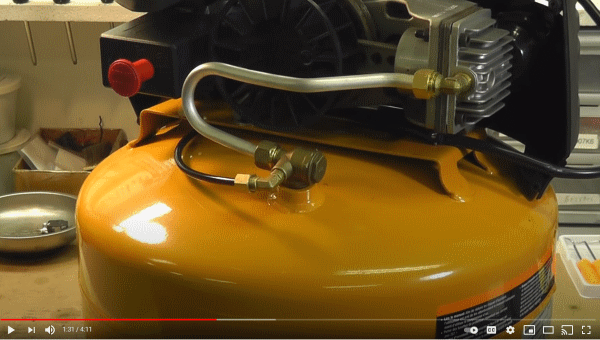
3. Faulty Check Valve Stuck Open
The check valve restricts compressed air from going back into the pump. A faulty check valve may cause the pump’s discharge head to receive unbearable pressure and burst.
High pressure at the discharge head can stop the compressor motor from restarting when the tank is full.
Check the unloader for any air leaks or blocking debris. Normally the unloader valve hisses or burps the compressed air when the compressor is full. The check valve is faulty when there’s air leaking from the unloader valve all the time.
Watch this video for the tip to test and check a faulty check valve:
4. Faulty Pressure Switch
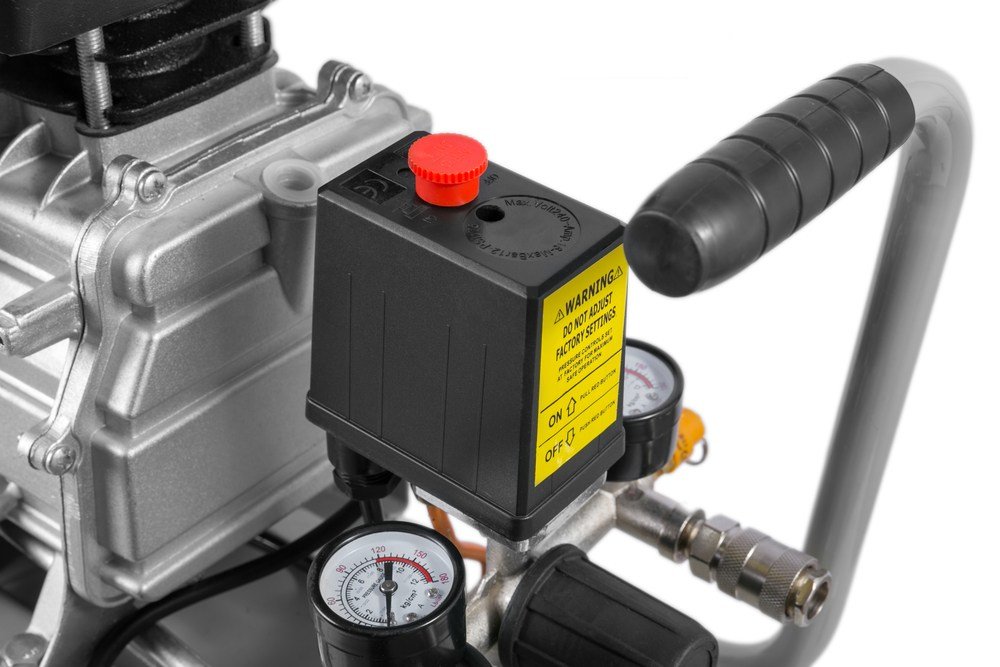
There is a pressure switch that signals the cut in and cut out pressure.
If this switch fails, the compressor can air up past the cutout pressure. At this point, the safety valve should open, releasing the excess pressure. (If the safety valve were to also get stuck, the air tank could explode.)
If your compressor keeps blowing open the safety valve while it continues to run, replace the pressure switch with another one of the same rating.
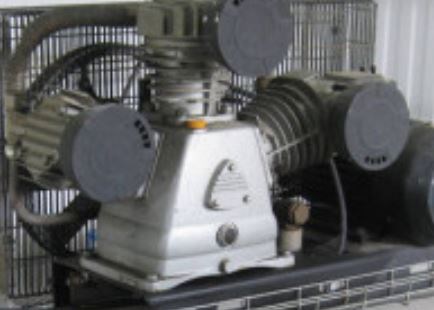
5. Open Or Broken Pressure Valve
This is an internal valve inside the compressor.
As the piston is compressing, the intake valve closes and the pressure valve opens.
If the valve has failed, than it can suck air back out of the compressor tank during the intake phase. This lets the air cycle back and forth and does not let the tank build.
Eliminate the other issues, first. Generally, this valve cannot be replaced without replacing the entire compressor.
6. Head Gasket Leak
Is the path of air leaking at the head gasket?
The top of the compressor is a separate piece of metal. A gasket sits between this pump head and the rest of the compressor body. It provides a critical seal at the highest pressure point.
When this part fails, it allows all of the air to escape out of the top of the compressor head. You’ll hear the pump get a lot louder as air escapes with nothing to quiet it.
The failure tends to be instant and loud.
Generally, this is a failure due to age. Most compressors will last over 5,000 hours.
7. Internal Piston Ring Leak
The compressor piston has tiny rings that circle it. These rings provide a tight seal between the piston and the cylinder wall while still allowing a tiny bit of oil to slip past to provide critical lubrication.
If rings are the problem, they will allow excessive oil to slip up past the piston and into the air lines. They will also allow air to slip down into the crankcase.
You might notice a frothing in the oil through the oil level sight window as the air moves into the crankcase.
In an oil-free compressor, you’ll just notice the compressor taking longer and longer to build up pressure.
It’s a little challenging to replace piston rings, you have to completely tear down the compressor, and then you generally need a couple of specialized tools.
Generally, a piston ring failure signals the need to replace the compressor.
Tests To Perform
Some of these won’t apply to your compressor. For example, a small pancake compressor will not have oil in the air lines, a belt-drive, or a motor capacitor.
1. Perform A Pump Up Test
Conducting a pump-up test could help you know how long your equipment takes to build enough pressure.
- First, remove any air in the tank.
- Then, close the discharge service valve.
- Record the time it’ll take your compressor to hit a specific PSI reading.
Every unit is unique in terms of maximum pressure. One model will have a high reading and another low. If your equipment varies from other units of the same model, contact your distributor.
2. Check and Clean Air Inlet Filter
Keeping the air intake filter clean through regular maintenance ensures that your unit is free from debris blockages.
Inspect the air filter using the following method.
- Open the wingnut to loosen it.
- Access the housing cover and remove it.
- Clear all the debris or build-up of any kind.
- Return the parts to their initial position.
- Conduct this routine maintenance regularly.
3. Check Equipment and Hose Lines For Leaks
Did you know that 30% to 50% of the air in a factory setting is lost to leaks? Examine your hose line and equipment to solve any leaks.
Calculate the air that goes into the system versus the air that gets out. If it’s not equal, it could be leakage.
Or, you can check for any bubbling or hissing sounds on the hose or entire equipment.
4. Look For Excessive Oil In Lines
If you notice excessive oil in the lines, it means that the compressor is experiencing inefficient operation. Sometimes, the excessive oil carryover could be a result of failing piston rings. Excessive oil indicates that air is slipping past the piston. Therefore, your system isn’t able to build enough pressure.
5. On Belt-Drive Compressors, Look For A Slipping Belt
Compressors that operate on belt drives may not build enough pressure when they are sliding.
- Turn off the machine and disconnect the power.
- Remove the rear section of your belt guard.
- After you loosen the mounting bolts on your motor, you can replace or repair the belt.
- Slide the motor towards the pump and remove the belt from the pulleys.
- Now, mount the new belt and reassemble the unit back to position.
6. Check Motor Capacitors (slow start/no start)
The motor is the heart of your compressor because it provides all the power. If any component of the motor is faulty, your entire unit will fail.
The capacitors that feed your motor may become faulty and send insufficient power to start your motor. So, the machine will not operate at optimum speed, and this will affect the pressure-building process.
Three-phase motors may experience phase imbalance which causes the tripping of your compressor breakers. It’s advisable to get the assistance of a certified electrician whenever you’re handling your motor capacitors.
7. Check Oil/Air Separators For Clogging
If the air and oil separator are clogged, it won’t flow pressure out of the line to your tools.
You’ll notice this failure since there is plenty of pressure at the tank, but no pressure at your tools.
8. Check Pressure Switch
If the compressor cuts off before the target pressure is reached, it could be a faulty pressure switch. The safety valve opens typically to release excess air pressure. So in the case that the pressure switch does not turn off the compressor when there is too much pressure inside, your pressure switch and the relief valve could be the first culprits.
As mentioned at the start of this article, the check valve is a big culprit. An open drain valve can also be a problem. Finally, that pressure switch is the 3rd most common reason why we’ve seen compressors fail to build pressure.
Of course, sometimes they just wear out and need to be replaced. Small pancake compressors seem like they just run a little longer every time until they finally run continuously and need to be replaced.

Zachary Drumm
Hey! My name is Zachary Drumm! This site allows me to test new tools, piddle around in the garage, and share the insights I get from flipping cars and houses. When it comes to tools, home improvement, and being a “shade tree mechanic,” you’ve come to the right spot. If I’m not in the garage creating content, you’ll find me outside, running, canoeing, and traveling. My goal is to empower more people to be self-sufficient.